By John Correll
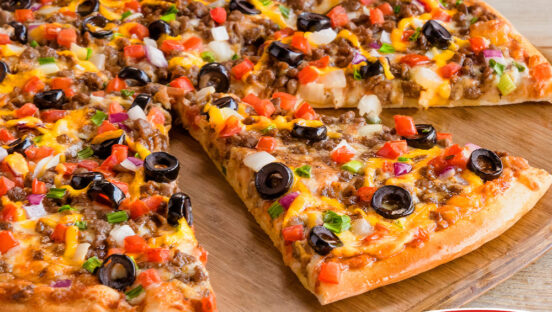
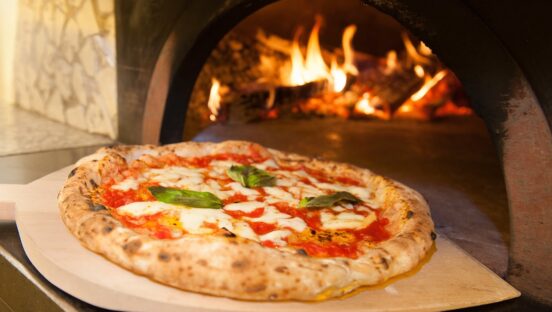
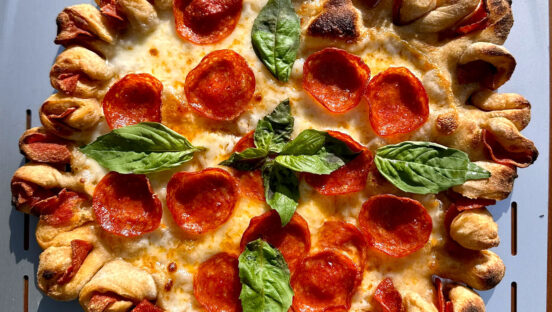
Regional pizza styles generate headlines, especially when they start appearing in unlikely places. Whether it’s a Detroit-style pizza company opening in San Francisco or the Old Forge style popping up in South Florida, a different kind of pizza gets attention in any market as customers continue looking for a novel culinary experience.
Most established pizzeria operators avoid such drastic—and risky—changes, but some still look for new ways to jazz up their crusts and add variety to their menus. Some pizzerias, like Wagner’s Pizza Bus in Fairbanks, Alaska, offer a wide variety of unexpected styles—where else in the entire state are you likely to find a Quad Cities-style pizza? And if you lived there, wouldn’t you, as a customer, be curious to seek it out and try it?
If you’re thinking about formulating a new pizza crust for your own operation, the task can appear daunting. However, you can make it easier by following these guidelines.
Related: Wagner’s Pizza Bus serves 30 regional styles in wild Alaska
1. Set Up and Equip a Test Kitchen.
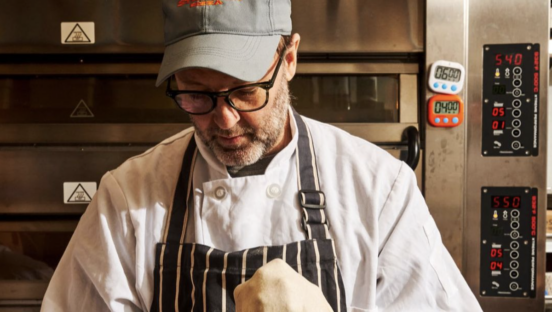
Recipe development usually progresses in small steps. It’s a trial-and-error process that advances from batch to batch, with each batch being slightly different from—and, hopefully, an improvement upon—the prior one. Dozens of batches must be tested sometimes before arriving at the desired result. So mixing 20-pound batches in a pizzeria-size mixer is not an economical approach. You’ll need a way to make one-pound or two-pound batches, and that requires a small test kitchen.
Your test kitchen can be set up in your pizzeria or, for more privacy and convenience, in your home. You’ll need a small mixer, preferably one that simulates your pizzeria mixer. For a planetary type mixer, purchase a used five-quart or 12-quart table model. For a less expensive domestic version, buy something like a KitchenAid mixer at a home kitchen supply store.
For a cutter-mixer, you can find one in sizes ranging from three quarts to 15 quarts. One advantage of a cutter-mixer is that you can make several recipe variations quickly. Additionally, it can be used for chopping cheese and blending sauce. A large-model food processor will also do the job, whipping up a good 16-ounce dough ball in about 90 seconds.
You’ll also need some utensils, including an accurate 32-ounce portion scale, stem thermometer, measuring spoons, bowls, pans, screens, peels and other baking items. If you want to take the temperature of baked pizzas, an infrared thermometer can be handy.
Generally speaking, the best pizza size for testing purposes is a medium, typically a 12” round pie. Stock a small inventory of test ingredients, such as flour, yeast, salt and sugar, and use pizzeria-type supplies. In short, duplicate the ingredients that you’ll be using in actual large-batch production.
Finally, you’ll need an oven. High-quality portable pizza ovens and table-model ovens are easier than ever to find these days. Otherwise, a small, electric single-pizza oven with a slide-out wire rack can be used. If none of those suit your budget, just use your home oven. Baking on the lowest rack will usually produce the best result. (To simulate hearth baking in a home oven, you can buy a baking stone from a restaurant supply house. Bake the pizza at between 450° to 500° and allow at least 45 minutes for the stone to heat up.)
2. Write It All Down.
Breakthroughs often come when you least expect them. If you don’t know exactly how you achieved the breakthrough, you might not be able to repeat it. So, for every test batch you must write things down. Keep a record of what you did, how you did it and how it turned out, no matter how insignificant each step might seem. Use a three-ring binder filled with lined paper. For each batch, use one sheet of paper and record the date, the exact recipe, any special procedures you followed, and the results. Make note of any special properties of the dough and final crust, such as color, rise, texture, taste and aroma. In the beginning, keeping a notebook might seem to slow down the testing process, but, over time, it will become a valuable resource, a guide for reviewing past tests and planning new ones.
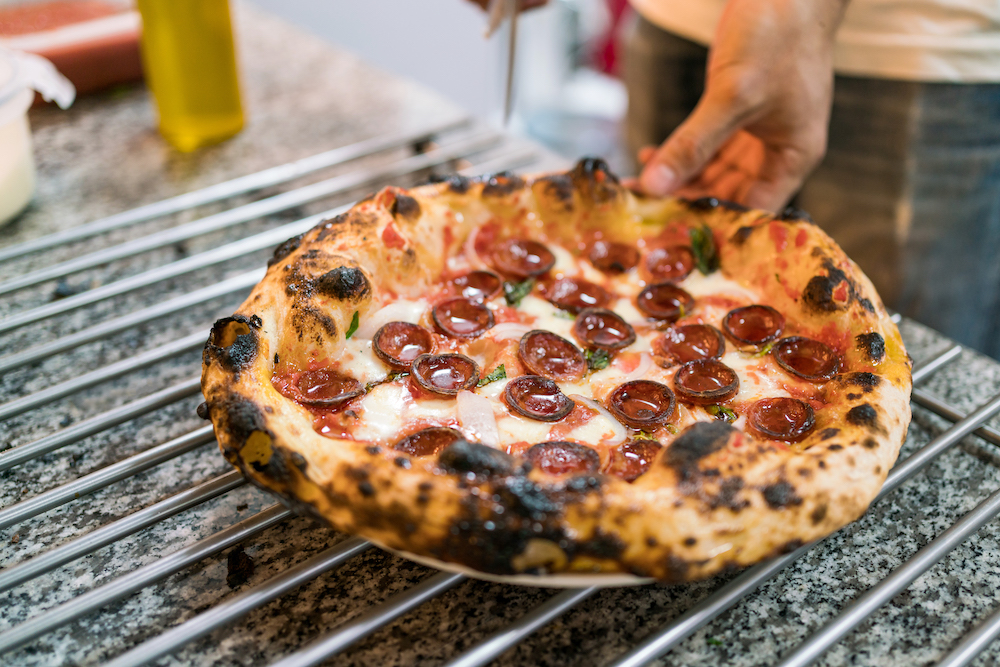
3. Compare Each Test Batch to a “Best-Yet” Recipe.
At some point, one of your test batches will turn out to be the best one so far—call it your “best-yet” recipe. The objective in making each subsequent batch will be to achieve a small improvement on the best-yet recipe. You can compare the crust resulting from the latest test batch to the crust from the best-yet recipe by conducting a baking test or bake-off. Bake two pizzas simultaneously, one made from the best-yet recipe and one from the test-batch recipe, then compare the crusts. In every case, make sure to measure each ingredient with an accurate scale or volume measure, such as a measuring cup.
4. Make Informed Guesses.
One big challenge in recipe development is deciding which changes to test from one batch to the next. It’s a guessing game, and the more guesses (that is, test batches) you make, the more time and money is required. Sometimes your test dough may have one property that you like and another that you don’t care for. In that case, try to figure out which ingredient is causing each result. Strong knowledge of ingredients helps a lot. By knowing what each ingredient actually brings to the recipe, you can hit upon the right combination with fewer test batches.
• Size and uniformity of air cells (grain)
• Height of the crust (volume)
• Crumb color (whitish, grayish, etc.)
• Crumb texture (tough, tender, dry, moist, gummy, etc.)
• Color of bottom crust (light, dark, uniform, etc.)
• Texture of bottom surface (soft, crispy, crunchy, leathery, etc.)
• Color of the collar, which is the crust’s outer edge
• Texture of the collar (soft, tough, dry, burnt, etc.)
• Crust aroma (best perceived at the collar)
• Flavor of the collar with no sauce or cheese
• Flavor in the middle with sauce and cheese.
5. Follow Your Intuition.
Along with using logic, we also recommend testing your whims and hunches. Logic can be helpful, but, since we lack total knowledge, it may not provide the full answer. Some of the best breakthroughs come from our creative sides—that is, trying out a crazy idea. Even an idea that doesn’t work can bring new knowledge that’s helpful down the road.
Getty Images
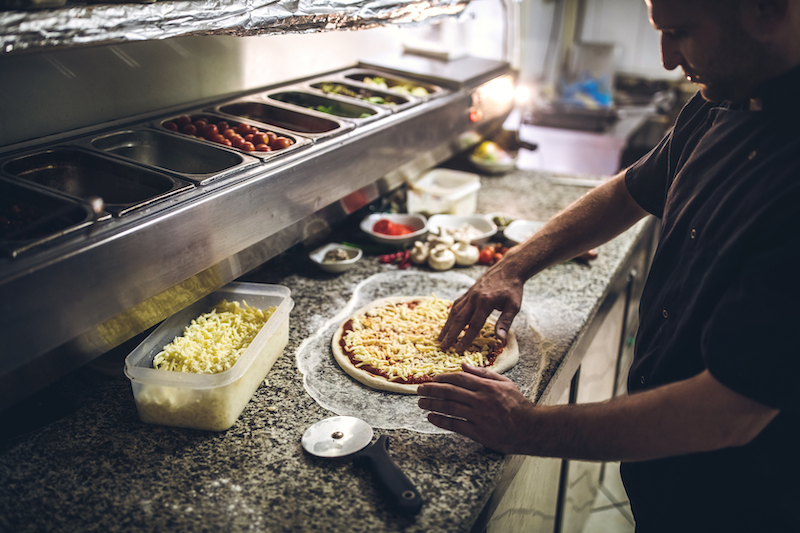
6. Vary Amounts and Types of Ingredients.
To change the properties of a dough or crust, vary the amount of ingredients as well as the types. However, it’s best to change only one variable at a time. Otherwise, you won’t know how each change affects the resulting product. (See the sidebar below for typical portion amounts.) For ideas on unique or specialty ingredients, take a stroll through a supermarket and look for items that might enhance your pizza dough. You might be surprised by how many ideas you can get. Additionally, dozens of pizza cookbooks have been published in recent years. You may uncover a breakthrough idea—or an idea that triggers a breakthrough idea—in one of them.
7. Convert the Best Test Recipe to Large-Batch Size.
Once you get the recipe you want, convert it to a large-batch size for your pizzeria mixer. You can do this by multiplying every ingredient in the recipe by a factor. To determine the factor, divide the total amount of flour in the large batch by that used in the test batch.
For example, if your pizzeria batch size takes 25 pounds of flour and your test batch uses 8 ounces (0.5 pounds), the large batch would be 50 times bigger than the test batch (25 ÷ 0.5 = 50). So, to convert the test-batch recipe to the large-batch recipe, you would multiply every ingredient in the test batch by 50.
In the case of teaspoon measurements, convert them to weights, if possible, for the large recipe. To do this, determine how many level teaspoons of an ingredient equals one ounce (weigh it out), and use that information to translate teaspoon measures into ounces. Remember that 3 teaspoons (t) = 1 tablespoon (T).
8. Create a Written Procedure and Follow It.
Many pizzeria owners blame their dough and crust problems on a faulty formula when inconsistent procedure is the true culprit. Once you’ve settled on a recipe, create a simple written procedure for making the new dough. If possible, have it neatly printed or typeset for easy reading and laminate it to keep it well-preserved. Require everyone on your dough-making staff to follow it every time.
SIDEBAR
The Right Portion
Use the following information as a guide to typical portion amounts. The amounts are expressed as a percent of flour weight. For example, if you’re mixing a batch of dough that involves 20 pounds of flour and you want to use 50% water, you would use 10 pounds of water. This figure is derived from the following calculation: 20 pounds x 50% (0.50) = 10 pounds.
Water
Acceptable Range Percent: 40% to 60%
Typical Range Percent: 48% to 58%
Yeast (compressed)
Acceptable Range Percent: Whatever gives desired rise
Typical Range Percent: 0% to 3%
Salt
Acceptable Range Percent: 0.5% to 2.5%
Typical Range Percent: 1% to 2%
Sugar
Acceptable Range Percent: 0% to 10%
Typical Range Percent: 0% to 5%
Oil
Acceptable Range Percent: 0% to 30%
Typical Range Percent: 0.5% to 3% for lean dough, 4% to 15% for rich dough
Non-Fat Dry Milk
Acceptable Range Percent: 0% to 6%
Typical Range Percent: 0% (1% to 2% when used)
Eggs
Acceptable Range Percent: 0% to 5%
Typical Range Percent: 0% (1% to 2% when used)
Egg Whites
Acceptable Range Percent: 0% to 2%
Typical Range Percent: 0% (1% to 2% when used)
John Correll is a former pizzeria operator, consultant and author of The Original Encyclopizza, a comprehensive guide to purchasing and preparing the ingredients that make a quality pizza. He was the first hourly employee hired into the sixth Domino’s Pizza store to open (1967) while also earning his MBA degree in restaurant management from Michigan State University. His entire 50-plus year career has, in one way or another, involved the pizza industry. Visit his website at www.correllconcepts.com.
This story originally appeared in the June-July 2012 issue of PMQ.