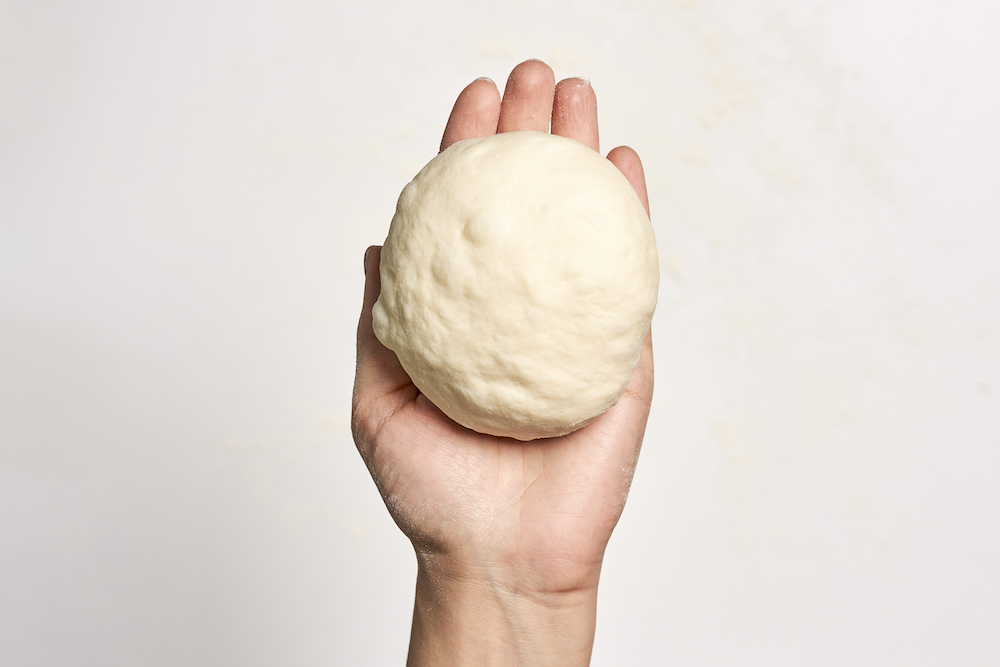
Pizza dough can definitely be frozen, but it cannot be frozen indefinitely. If you need to freeze your pizza dough, there are three very different ways to go about it.
Mechanical blast freezing employs temperatures between -20°F and -35°F, combined with an airflow of 600 to 800 linear feet per minute. Another technique, called cryogenic freezing, uses a commercial liquid cryogen, primarily liquid carbon dioxide or liquid nitrogen, to achieve a freezing temperature of -35°F to -55°F. Both of these methods are used by commercial frozen dough manufacturers and require specialized equipment. And both impart a long shelf life to the dough, between 12 and 20 weeks with the right product formulation and effective dough management protocol.
However, static freezing is the most common technique in smaller operations. It employs temperatures of 0°F to -10°F with little or no airflow over the product. A walk-in, chest or reach-in freezer is typically used, and the cost is much lower since there is usually little or no additional equipment required. However, the process takes significantly longer, so production volume is decreased.
Unfortunately, the slow freezing process allows for the development of a larger, more angular ice crystal, which can puncture the yeast cell wall and allow the plasma material (glutathione) to leak out of the cell. Once released from the yeast cell, the glutathione will act like a reducing agent, such as L-cysteine or commercial compounds containing L-cysteine. Also, once the yeast cells have been damaged this way, they won’t contribute fermentation by generating carbon dioxide and other leavening gasses. The resulting product will have a relatively short shelf life. Fortunately, that’s a moot issue if the dough can be used within about 15 days of the initial freezing.
So how do you ensure that your pizza dough can be frozen correctly? With the static freezing method, you may need to increase the dough formulation’s yeast level to 1.5% or 2% (based on compressed yeast). All other ingredients can remain the same. Additionally, the temperature of the water added to the dough may need to be adjusted (typically lowered) to achieve a finished dough temperature in the range of 65°F to 70°F.
Also, because yeast doesn’t fare well in this type of freezing, you should take the dough directly from the mixer to the bench for scaling and balling, then place it onto a lightly oiled pan and immediately put it in the freezer until the core temperature of the dough ball reaches about 10°F to 15°F. (Depending on the dough’s weight, this can take between two and five hours.)
To reduce freezing time, try flattening the dough balls into a puck shape, effectively reducing their cross-section height. To use the frozen dough, thaw the dough balls overnight in the cooler for next-day use. But be prepared to work the dough over pretty well with a dough docker to control bubbling, and keep a bubble popper handy for any bubbles that might form during baking. Or you can reduce bubbling by thawing the dough balls overnight in the cooler, then bringing the dough out first thing in the morning and allowing it to warm to 50°F at room temperature; once it hits that temperature, put it back into the cooler for later use that day or the next day. (Frozen dough might not hold up very well beyond two days after thawing; the dough tends to become sticky and lifeless.)
Even with this modified thawing procedure, the finished pizza skins should still be docked, but they won’t need to be docked as heavily; a bubble popper should also be kept handy, but you shouldn’t need to use it nearly as much, if at all.
The late, great Tom “The Dough Doctor” Lehmann was a longtime contributor to PMQ Pizza Magazine and pizza industry consultant. Before his retirement, he served as the director of bakery assistance for the American Baking Institute. This article originally appeared in the April 2014 issue of PMQ Pizza Magazine.