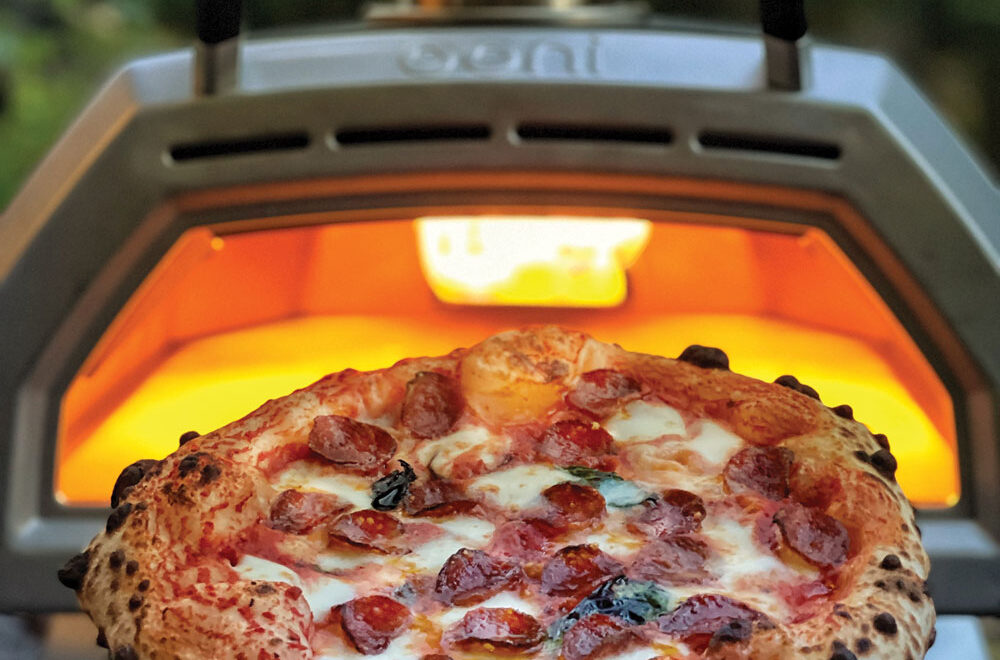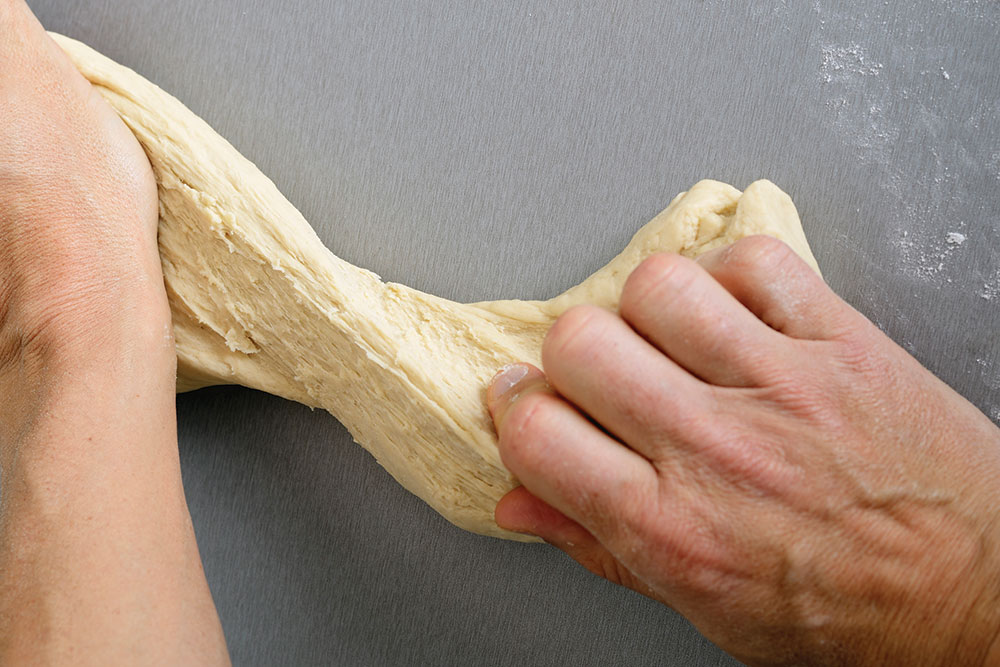
Pizza dough is sensitive stuff, and making it just right requires both an artist’s touch and a scientist’s knack for calculation and precision. This is particularly true when it comes to using dough forming equipment, such as sheeters and presses, as well as tossing and stretching dough by hand. Every crust forming method or procedure imparts its own unique characteristics to the dough, which, in turn, affects the finished crust and, of course, your pizza.
If your business is growing and you’re thinking about purchasing some new pieces of dough equipment or switching from one type of equipment to another, you’ll want to consider all the myriad possibilities and make sure you understand their capabilities and their limitations. Here’s an overview of some of the most common types of dough equipment available to pizzeria operators today:
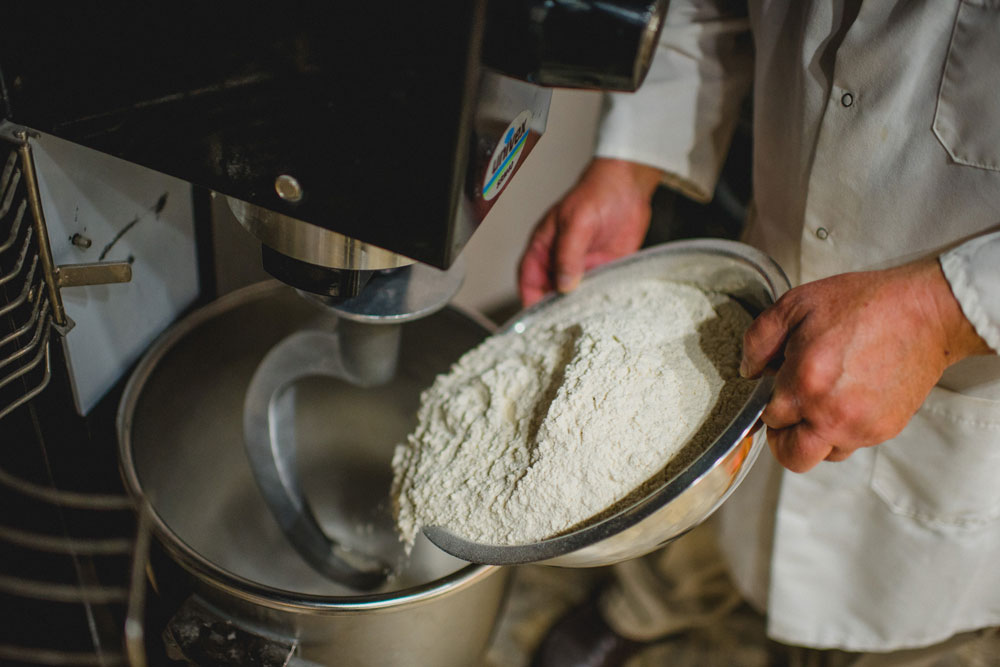
Planetary vs. Spiral Mixers
Planetary mixers aren’t just for mixing; most come with an attachment hub that can also drive attachments used for cutting and grinding meats, cheeses and vegetables. Simply install a different agitator, and the mixer can be used for mixing sauce or whipping up a fancy dessert. A spiral mixer can be sized to mix between 12.5 and 300 pounds of flour, while planetary mixers typically used in pizzerias are limited to mixing between 2.5 and 80 pounds of dough. When loaded to between 50% and 100% of their capacities, both mixer types work at similar speeds and boast similar friction factors (hence, you can use the same water temperature with both mixers).
Some pizzeria operators outfit their kitchens with both a spiral mixer for general dough mixing as well as a smaller planetary mixer for backup and to mix sauces and prepare cheese, meats and other toppings. The biggest drawback of spiral mixers in most pizzerias is the lack of an attachment hub for all of those grinding and slicing chores; on the other hand, spiral mixers are very efficient at mixing dough and may provide more dough mixing capacity than a typical planetary mixer.
|
Think Plastics |
|
When it comes to dough proofing and storage, Chef Santo Bruno has one word of advice for you: plastics. Long before plastic and aluminum materials became common, pizzaioli proofed their doughs in wooden boxes. But wood absorbs moisture from the bottom of the dough, resulting in a very crispy crust—too crispy for some pizza makers. Over time, many operators turned to aluminum pans, which are great for proofing and retarding dough but can be difficult to clean. Bruno now uses a plastic product called the Super Dough Bowl. “The dough ball comes out easily from the bowl, and the bowls nest snugly, which eliminates excess air and makes it easy to control the rising of the dough,” he says. The plastic bowls save space on the prep table, he notes, and they’re practically indestructible. They’re also easy to clean. “Just put them in hot water with a detergent and let them soak for a while,” Bruno says. “Use a sponge if necessary, but never use an abrasive or steel wool—it’ll destroy the finish.” Jay Burton is another dough pro who’s sold on plastic. “My commissary turns out well over a quarter-million dough balls annually,” says Burton, general manager of One World Commissary, which handles the dough needs of the Pizza X (pizzaxbloomington.com) chain and Lennie’s Restaurant and Brewpub (lenniesgourmetpizza.com) in Bloomington, Indiana. His staff uses co-polymer polypropolene trays, placing six sheeted dough balls in each tray. The trays lock together, he says, “for an all-but-airtight seal.” Burton says the plastic trays “are much easier to clean than anything I have ever used. The dough just scrapes right off using a plastic putty scraper, even if the dough has dried on.” |
Hot and Cold Presses
Hot presses use a heated head to press a dough ball into a die cavity or onto a flat platen. A hot press can create various shapes, including round and rectangular crusts, and hot presses work especially well for forming oven-rising (take-and-bake) pizzas with a well-defined, raised edge. But formulas for hot-pressed doughs typically call for a relaxing agent of some kind to help the dough stretch and to reduce shrinkage or dough memory after pressing. In some hot presses, only the top head of the press is heated—in these cases, the dough will have to be put on a pan or tray after pressing, since the bottom of the dough will still be raw and sticky. Remember that the heated platen will activate the yeast to some degree, so the dough will need to be baked immediately after it’s pressed when making thin-crust pizzas. However, when making thick-crust or deep-dish pizzas, the heated dough can work in your favor by helping to reduce the rising/proofing time needed to give the desired finished crust characteristics.
Also, hot pressing of the dough imparts an open, somewhat coarse internal cell structure that’s quite uniform, resulting in more uniform baking characteristics for the finished crust. If you use a press that’s heated at the top and bottom, a dry skin can be formed on the dough, imparting the potential for a unique crispiness to the crust. This dry skin also helps to control browning so that the crust can be baked longer—or at a slightly higher temperature—for an even crispier texture.
Cold presses, unlike hot presses, don’t rely on heat to help form the crust or to help form a skin to retain the shape of the crust (especially raised edges). For cold pressing, you need a soft and “flowing” dough, which can be achieved through a high water-absorption process, high finished dough temperature (90° to 100°) and reducing agents. The softness of the dough makes it much harder to achieve a well-defined, raised edge for the crust.
Cold pressing is a great way to make focaccia bread and can produce a unique, fried-bottom pizza crust, a characteristic that cannot be achieved through any other forming method. On the other hand, the greatest negative factor in the cold press forming method may be the fact that you’ll need special pans onto which to press the dough. Additionally, you may experience increased difficulty in producing a crust with a pronounced raised edge.
Sheeters, Rollers and Die-Cuts
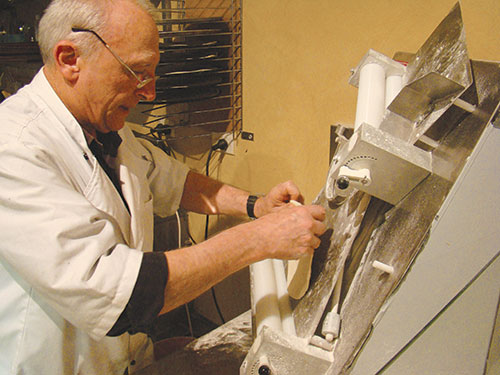
Dough sheeters and rollers take dough balls and form them into flat pieces of dough known as pizza skins. In many cases, a large dough sheeter may be used to create long or continuous ribbons of dough from which individual pizza skins can be cut using circular cutting dies. This approach can produce dough in mass quantities in an efficient manner, such as when operating a pizzeria as a commissary or for use in a free-standing commissary operation in which dough skins are made for a number of different stores.
The sheeting method generally produces a crust with a thick, heavy internal cell structure. This can be attributed to the way the dough passes through the sheeting roll, which disrupts the gas cells, degassing the dough along the way. If you desire a more open, porous cellular structure, consider allowing the dough to proof/rise for a period of time—preferably between 20 and 70 minutes—between the forming and baking stages.
Another problem with sheeters is that, as the dough passes through the sheeting roll, it receives additional work, similar to additional mixing time. This extra work further toughens the dough through gluten development, resulting in unwanted snap-back. However, you can address this problem with the use of additives that contain dough relaxing materials, such as L-cysteine, glutathione, deodorized vegetable powder or sodium metebisulfite. Otherwise, the formed dough piece may need to be set aside for between 10 and 15 minutes, allowing it to relax somewhat, then passed through the sheeter again or manually stretched to bring the skin out to full diameter.
Because sheeted doughs come out flat across their entire surface, the finished crusts tend to be somewhat flat, too, lacking a high, rolled or raised edge. In many cases, they’ll resemble a poker chip. If you don’t like a uniformly flat crust, consider proofing the dough for a short time after forming—this will allow the edge portion of the skin to rise more than the center portion, which is weighted down by ingredients, thus forming something of a raised edge.
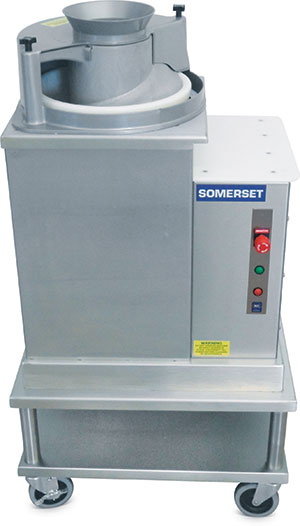
Dividers/Rounders
If you’re making several hundred dough balls a day, a divider/rounder may be the right piece of equipment for you. A divider/rounder divides your dough into equal weight pieces, then rounds them into dough balls. This piece of equipment requires a financial investment, but it can also turn dough making—ordinarily a time-consuming and labor-intensive task—into a one-man job. You can also purchase a divider and a rounder separately. In fact, more and more pizzerias nowadays are using a dough rounder alone. In this case, a person at the bench can divide an entire 80-pound dough into 10-ounce dough pieces in about 15 minutes; as the dough is scaled into pieces, each piece is tossed into the rounder and another person catches the dough balls as they come out of the rounder. Using this method, with practice, two people can divide, round and box an entire 80-pound dough batch within 20 minutes!
Before purchasing any piece of dough equipment, think long and hard about all the functions it will need to perform. Also give serious consideration to the type of pizzas that you’ll be making with the finished dough. Do your research, and don’t be afraid to ask the vendor a lot of questions. It’s an important decision that will affect your bottom line in many ways!