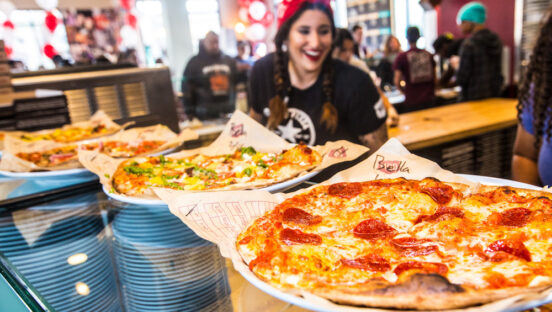
PHOTO BY RACHEL SHERWOOD
Have you ever looked at a menu with poorly lit, out-of-focus food photos that—rather than making your mouth water—made you want to run for the door? Ever seen obvious stock shots populating a menu that look nothing like what arrives on your plate? Photographing pizza can be a pretty complicated process, notes food stylist Rachel Sherwood of impressionsfoodstyling.com, but unattractive pics can hinder your business. “The beautiful cheese-pull images you see on packaging sometimes take a full day of very skilled people to achieve,” she says. “But if your pizza doesn’t look good [in your photos], customers think it won’t taste good.”
You know the saying: People eat with their eyes. And that’s truer than ever with the rise of social media platforms like Facebook, Pinterest and Instagram. Are your food images drawing customers in or scaring them away? Are professional food stylists and photographers too pricey for your budget? Fear not: We’ve gathered a slew of foolproof tips you can use yourself to ensure your pizza portraits are picture-perfect.
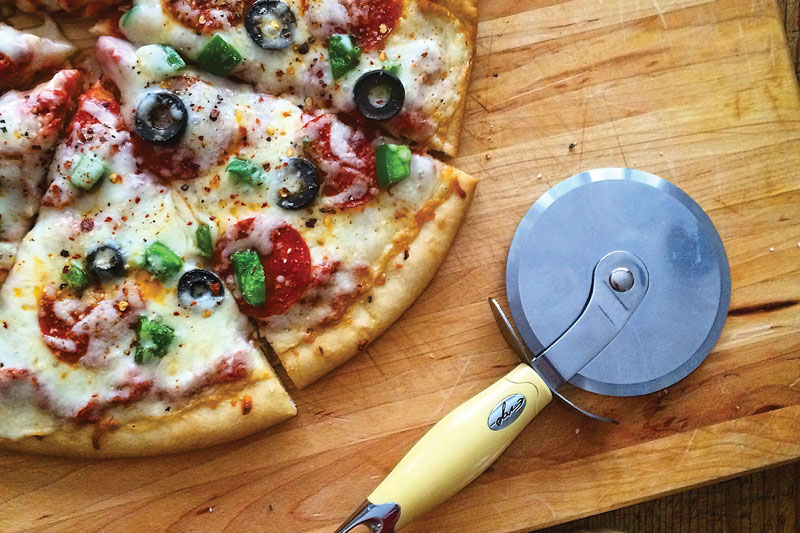
1. Set the right scene. Jennifer Morris, owner of Ajenda Public Relations in Orange, California, advises preparing for your shoot by creating a “mood board,” complete with finished photos that you like. “With pizza, you have a short window of time to get the perfect shot, so having some inspiration, along with various props at the ready—a pizza cutter, flour, chopped basil, etc.—will help you set up the photo,” she explains. “But be realistic. If you’re running a casual pizza joint, you probably shouldn’t emulate photos of artisan pizza.”
While props help set the scene, don’t go overboard with them—Sherwood recommends keeping the focus on the food. “For beginners, less is more. It’s easy to think that the image will be better with linens, plates, condiments and shakers in the background, but if those are not done correctly, they can be distracting,” she says. Tabletops and serving ware with a lot of color and patterns also distract the eye. Instead, shoot on a simple background, wood table surface or clean linens. Keep the pizza on the pan for a natural look, or try moving it to a white platter or wood cutting board.
Christine Elise McCarthy, Los Angeles-based owner of Delightful-Delicious-Delovely, says it’s best to keep the background (especially what’s directly under the pizza) monochromatic. “Simple black or white always works, though sometimes a textured background like a rough-hewn tabletop or a rusted old cooking sheet can add depth to the image without being distracting,” she explains. “Parchment paper is kind of genius, too—it works plain, wrinkled up or parched from the oven.”
2. Use natural light. The quality of light in your shooting area makes a huge difference. Experts agree that natural light is the perfect choice for food photos. “I shoot in a window that’s bright but where no sunlight directly hits the subject,” says McCarthy, who typically shoots her food photos with her iPhone. “Alternatively, I shoot right on my stovetop, with a clamp light pointed directly downward.”
Sherwood also recommends soft, natural light for the simplest approach. “You can have the most beautiful food, but with poor lighting you’ll never capture a quality image,” she says. “The best time is dawn or dusk near a window. You don’t want to be in direct sunlight so, if needed, use a white sheet to help diffuse the light.”
Morris adds that natural light picks up all of the nuances and bubbles on the crust; flash photography in a dark environment will not showcase the best-looking parts of the pizza.
|
|
|
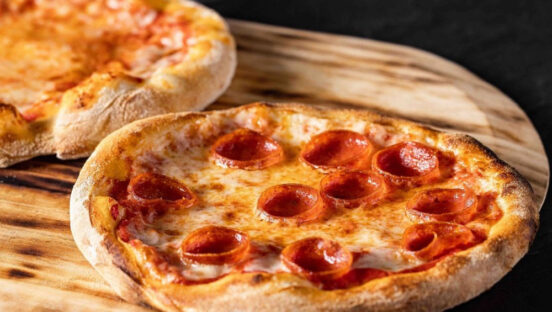
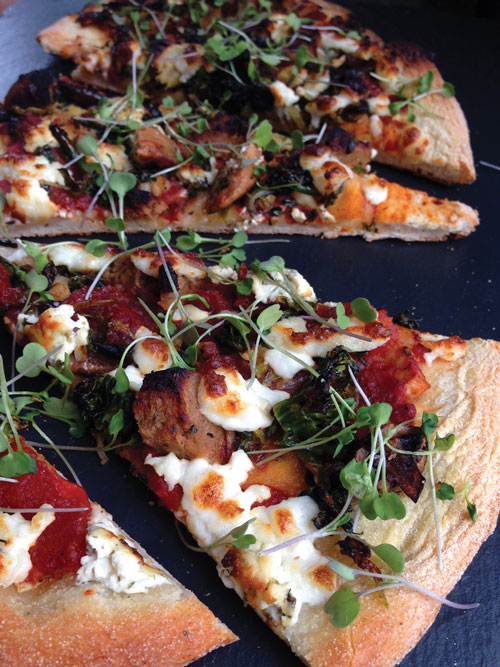
Rachel Sherwood recommends cutting vegetables carefully to get the perfect shape and placing the best pieces on top of the pizza. PHOTO BY RACHEL SHERWOOD |
3. Find complimentary angles. McCarthy’s two best tricks for shooting food: shoot from directly above, or shoot from very close up so that the rear part of the image is out of focus. “In general, a really short depth of field can be a very forgiving technique if every part of the composition of your photo is not perfect,” McCarthy says. “It puts the focus, literally, just where you want it.”
Because a camera sees in only one dimension, it can make your pizza appear flat, Sherwood points out. “Move the camera around and try a few different angles to see what makes the pizza look best,” she advises. “If you have a lovely artisan crust you want to feature, a lower angle may be best. If you have interesting ingredients, try overhead. Look at a few different options to find what will highlight the pizza best.” Morris notes that many photographers even stand on a ladder to get that perfect overhead shot.
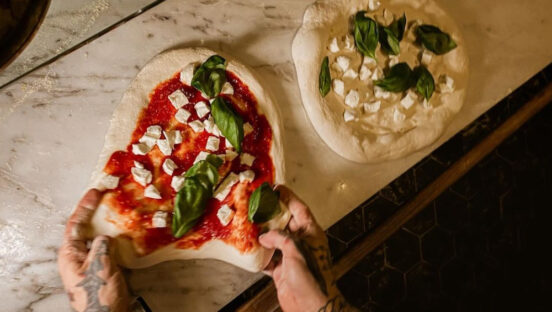
4. Consider your ingredients carefully. Take your time when preparing a pizza for photography, Sherwood says. You want customers to easily be able to tell what toppings they’re looking at. Never make them have to guess and wonder what that brown splotch actually is. “Cut vegetables carefully to get the best shapes, especially with mushrooms,” Sherwood says. “Pick out the very best pieces and place them on top. You may consider topping it with cheese less heavily, so that the toppings can shine through.”
Sherwood also recommends limiting the sauce and greasy items on your pizza. “Sauce can change the color of the cheese and bleed,” she says. “So, for best results, put sauce only on the outer edge of the pizza and fill the middle with toppings as usual. Also be aware of extra oil; some meat products can bleed out oil when heated. You may partially cook these items in advance to help remove some of the excess oil before topping the pizza.” At the same time, Sherwood suggests using a high-fat-content cheese for better melting properties.
When applicable, use herbs to decorate the finished pizza. For example, a Margherita pie can be sprinkled with fresh basil for a more appealing look. “If the pizza uses herbs, don’t cook them on the pizza; they’ll lose their texture and form,” Morris notes. “Put them on afterward so you have a fresh object that can be your focal point.”
Finally, don’t overpromise. It’s easy to get heavy-handed and try to make the pizza look its best by adding more tasty-looking toppings, but Sherwood stresses remaining true to your pizza and your brand. “You don’t want your customer feeling cheated because the pizza pictured is loaded with toppings and when they get theirs, it’s not,” she says. “If your pizza has 12 pepperoni slices on it, make sure you see only 12, not 13, in the picture.”
 |
|
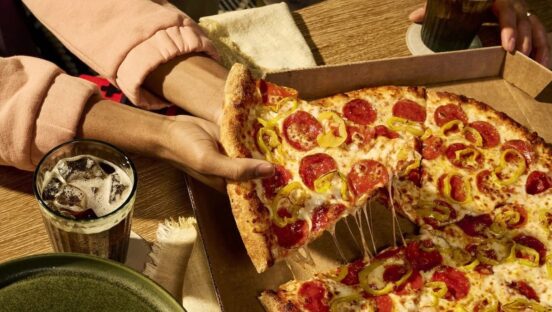
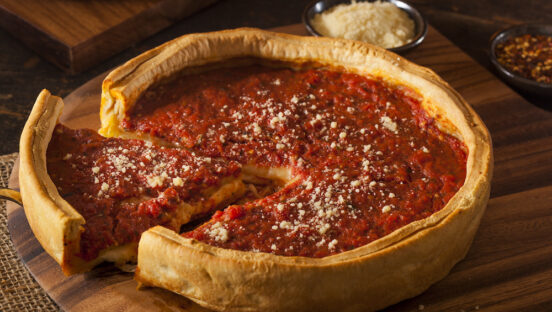
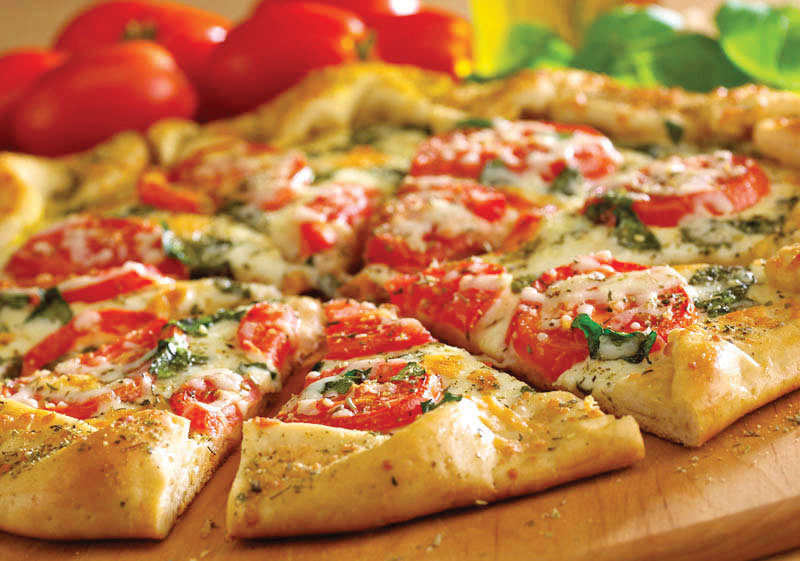
As illustrated in this iPhone camera photo by Christine Elise McCarthy of Delightful-Delicious-Delovely, shooting pizza from a slight angle or directly overhead highlights quality ingredients in slightly different ways. |
5. Mind your time. The main challenge with pizza photography, Sherwood says, is keeping the cheese hot and fresh-looking—it can turn gray very quickly. She often makes a “stand-in” pizza as a placeholder to get the set right, checking lighting and the camera angle. Then she’ll make a “beauty” pizza for the actual image. “I would recommend making a stand-in to test out everything, then taking time to make a nice beauty pizza with pretty toppings and baking as usual—but keep an eye on it so it gets even coloring,” she says. “When it looks great, get it out of the oven and shoot it as quickly as possible. We often have large garment steamers on set to help keep the pizza ‘alive,’ using the hot, wet steam to keep the cheese soft and fresh for us to make any more adjustments if necessary. Ultimately, the food should look good. If it doesn’t, start again!”
6. When in doubt, hire a pro. Does it all sound like more than you can handle? If you don’t mind paying a little extra, you can always hire a professional to orchestrate your food shots. “Quick natural images are great for social media and short-term-use items, but if you’re looking for a quality image that you can use for a long period of time and in main marketing pieces, you may consider investing in the services of a food marketing team and/or professional photographer and food stylist,” Sherwood says.
Just make sure you know exactly what you want before you bring them in. “Do your research, as this is expensive, and take time to know what your needs are and the intended use of the image you want so you can get the most bang for your buck,” Sherwood advises. “Be prepared for the food stylist to ask questions about your vision, how the image will be used and who the consumer is. A good stylist will have your best interests in mind and will help show your products in the best way so your customer gets hungry just by looking at them!”
|
Get the Picture |
|
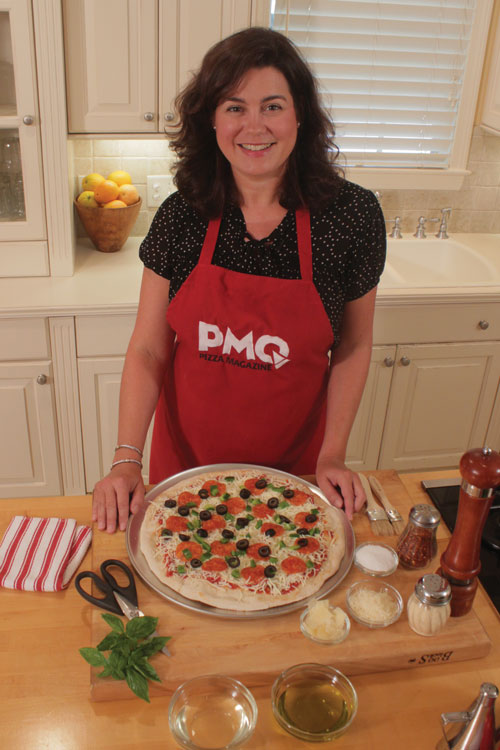
Give cookbook author and food stylist Jennifer Chandler an ordinary pizza and a smartphone, and she’ll give you some food shots you won’t believe. Based in Memphis, Tennessee, Chandler handled the food styling for all of her books, including The Southern Pantry Cookbook, Simply Grilling, Simply Suppers and Simply Salads. The PMQ video team crowded into Chandler’s kitchen for a PizzaTV shoot recently and gleaned the following tips: Start with a par-baked crust. Using a par-baked crust reduces baking time for the final product, which in turn yields a fresher-looking pizza without overcooked or wilted toppings, Chandler says.
Freshen it up with oil. After baking, lightly brush the edges of your crust with a little olive oil to create an appealing sheen and a golden-brown hue. “You can brush the vegetables, too, but don’t use olive oil,” Chandler notes. “It has a little bit of a green tint to it. Use a clear oil like canola, salad or vegetable oil. Just lightly brush it—not too much, because you don’t want it to look greasy.” Add a little texture. Sprinkling red pepper flakes, salt and pepper on the pizza adds texture to the final product. “Use coarsely grained kosher salt and freshly ground black pepper rather than table salt and pepper,” Chandler says. “It’ll make a difference.” Forget the flash. “Try not to use your flash if at all possible,” Chandler advises. “Your flash will not make your pizza look as good as it can look. Try to use natural light. If the light is not right, move your pizza to another area of the dining room or into your kitchen to find the perfect light.” Keep moving. Chandler advises shooting your pizza from various angles to get the perfect shot. “Your pizza will let you know which is its pretty side as you move around,” she says. Don’t use Instagram’s filters. These filters tend to give your food images an unnatural appearance. “Totally skip the filters and instead go to the tool bar,” Chandler says. “You can use it to do things like sharpen your pictures, add brightness if you don’t have enough light and use the tilt-shift function to adjust focus.” Visit cookwithjennifer.com to learn more about Jennifer Chandler. |
| AN APP FOR EVERY NEED |
|
Christine Elise McCarthy, Los Angeles-based owner of Delightful-Delicious-Delovely, uses only an iPhone5 to take drool-worthy pics for her “food porn” website. She then tweaks the images in Photoshop, primarily to brighten them, increase contrast and up saturation. “There are loads of apps (Camera Plus, VSCO Cam, tadaa) that do these things if Photoshop is either too costly or too complex for you,” she notes. “Squaready puts a white border on your image to make it square for Instagram. Phonto allows you to add text to the image. Also, the HDR setting on the iPhone is nice to use sometimes because it offers two exposures of each image. Sometimes the regular image is better; sometimes the HDR improves it. But at least you get more selection.” |